|
Matrix is a game for the VIC-20 (with 8K or 16K expansion RAM), written by Jeff Minter and published by Llamasoft in 1983 (now officially freely distributable). It was also distributed in the US by HES under the name Attack of the Mutant Camels (the real Attack of the Mutant Camels was renamed Advance of the Mega Camels for the US market). It was ported to various other platforms: Commodore 64 (Minter), Atari 800 (J. Lenard), Commodore 16 (A. Liddiment) and Sinclair ZX Spectrum (Salamander Software). Matrix is the sequel to Gridrunner (VIC-20, C64, A800, Spectrum) and the prequel to Voidrunner (C64, C16, Spectrum, MSX), Super Gridrunner (Commodore Amiga, Atari ST) and Gridrunner++ (Windows, OSX). This page is about the definitive VIC-20 version of Matrix, although much of it will apply to other versions as well, especially the C64 version.  |
|
The game clearly has its origins in the classic Atari coin-op Centipede, but the tighter confines of the VIC's display, combined with a host of extra features such as deflexors, the zapper and the bastard snitch make Matrix a sphincter-tightening, Minter-cursing zap-fest compared to Centipede's sedate shroom-popping fun. Here is a run-down of the things you will encounter in a typical game: The Title Screen There are a few things you can do on the title screen:
As a veteran of the original Grid Wars, control of your ship will be second nature to you (it's Up, Down, Left, Right and Fire on the joystick, you div). Your ship can move anywhere on the grid except the top 4 rows, and it is armed with the fashionable Oneshotatatime cannon. You begin the game with 5 ships, and receive an extra ship for successful completion of a level, up to a maximum of 9.
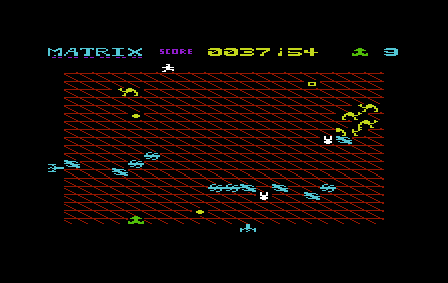
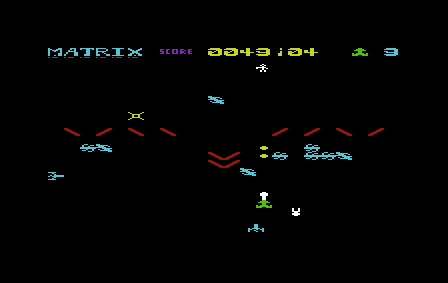
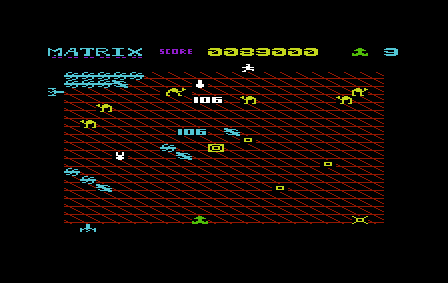
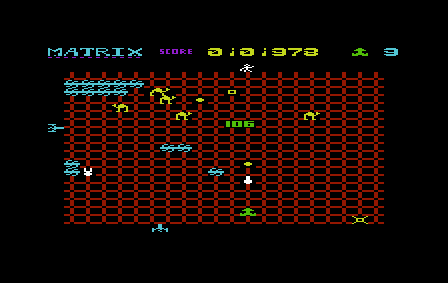
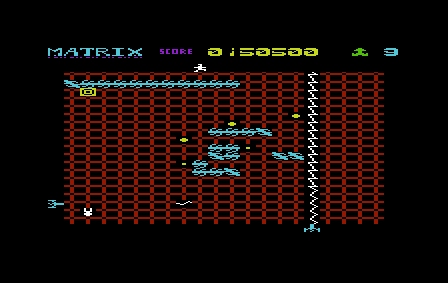
The droids are your main adversary in the game. They appear on the screen in waves, usually in boustrophedon formation, although on later levels a wave may enter the screen travelling diagonally. When a droid reaches the penultimate row of the grid, it will turn around and travel back up the screen diagonally, then proceeding to bounce around the grid, causing extra headaches for the player. Shooting a Leader Droid (the droid at the head of a wave) is worth 400 points, and shooting any other Drone Droid will give you 100 points, whilst also splitting the wave into two, each with its own leader. Droids can also drop bombs, and the higher the level, the more likely it is that they will do so.
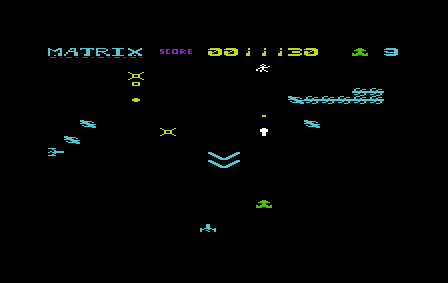
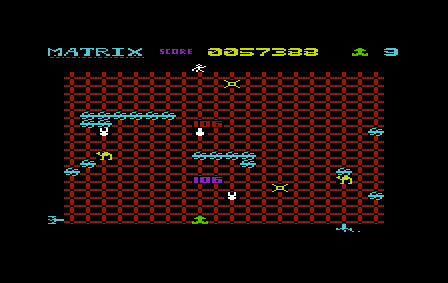
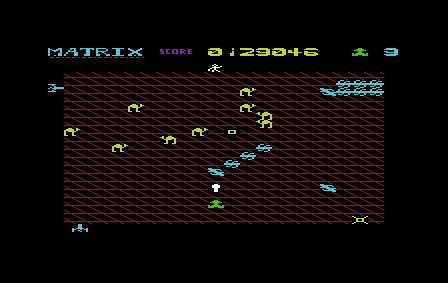
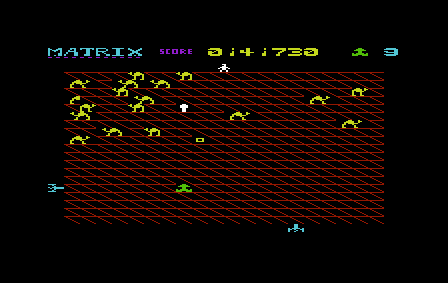
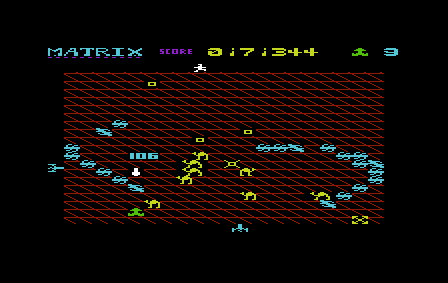
The Cosmic Cameloids are not a danger to your ship, but can cause droids to descend faster by getting in their way. They are worth 106 points if shot (in honour of the former rock station, KMEL 106).  As well as appearing on normal levels, there are also levels where camels appear on their own (referred to in the manual as Target Waves). On such levels (eg. level 4), your score counts down continually until the end of the level, so it's in your interest to complete the level quickly whilst scoring as many points as possible.
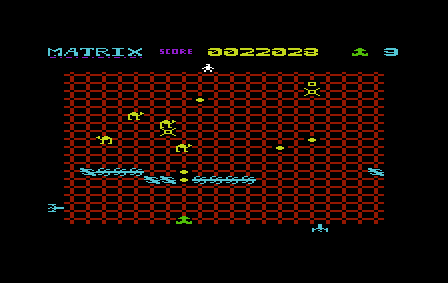
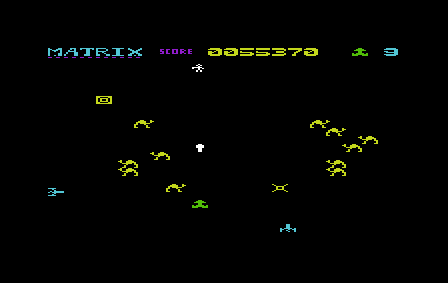
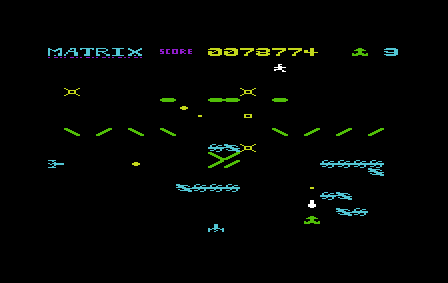
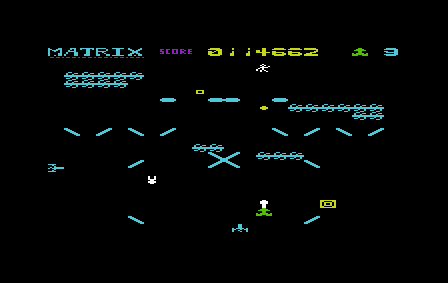
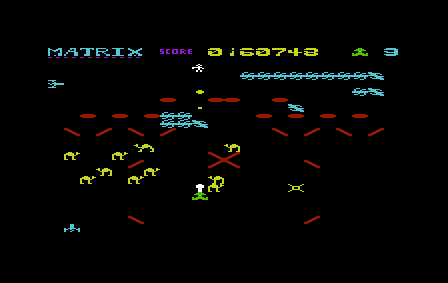
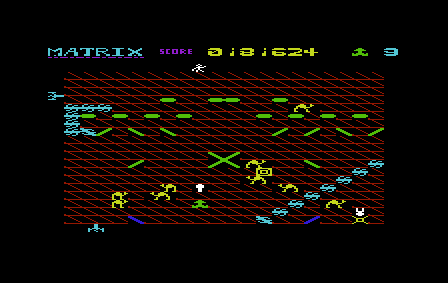
As the name may suggest, deflexors will deflect any shots you fire at them. The first type of deflexor you encounter (as seen in the Llamasoft game Deflex) will change the path of your shot by 90 degrees, and then flip over when hit. The second type, seen on later levels, deflect shots straight back at you, so be careful with your fire or you could end up shooting yourself!
Pods don't do too much except get in the way. Most pods are created when you shoot a droid, although the zapper creates pods as well (see below). There are 6 stages of pod, ranging from a small dot to a large pointy thing, and every time the zapper fires, all pods on the screen advance one stage. When a pod advances beyond the 6th stage, it turns into a bomb which falls down the screen. You can reverse a pod's decay by shooting it, and shooting a 1st stage pod will destroy it completely, netting you 10 points in the process.
The zapper has two continuously moving components - the X zapper loops around at the left of the grid, and the Y zapper loops around at the bottom. At regular intervals, the X zapper fires a bolt whilst the Y zapper fires a column-filling beam, and you really don't want to be in the way when that happens! When the zapper has done its business, a new pod is created at the point of intersection of bolt and beam. NB: Because the grid itself has an even number of columns (20), you can be certain that on levels with an even zapper period, every other column will always be free of the Y zapper's beam (until the snitch comes along anyway).
The Bastard Snitch is a traitorous humanoid who attempts to track you along the top of the grid. If he's waving at the top of your column when the Y zapper passes by, you will instantly receive a good hard beaming from behind, missus. On later levels, he can travel just as fast as you can, leading to some pretty sticky situations. Look at his smug little face. Bastard. |
There are 20 levels in the game, and if you complete level 20 you will play that level again until your arse is finally served up. The following is a list of the main characteristics of each level - the number of waves, the number of droids in each wave, the number and speed of cameloids, the period (in number of columns) of regular zaps of the zapper, the speed that the snitch moves, the number of deflexors, and the behaviour of waves when they first appear on the screen. NB: Levels with the diagonal grid design will alternate the initial behaviour of each wave between boustrophedon and diagonal - on levels with an even number of waves (eg. level 7), a boustrophedon wave will come first, and on levels with an odd number of waves, a diagonal wave will be first. | ||||
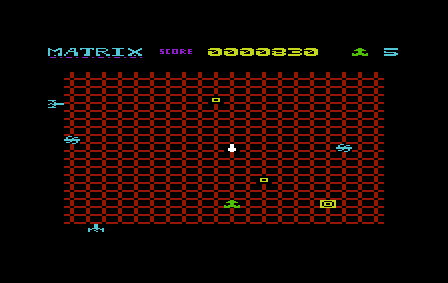 |
Level: | 1 | ||
| Droid Waves: | 1 | |||
| Droids per Wave: | 7 | |||
| Camels: | 0 | |||
| Camel Release Rate: | ||||
| Camel Speed: | ||||
| Zapper Period: | 16 | |||
| Snitch Speed: | ||||
| Deflexors: | 0 | |||
| Wave Patterns: | Boustrophedon | |||
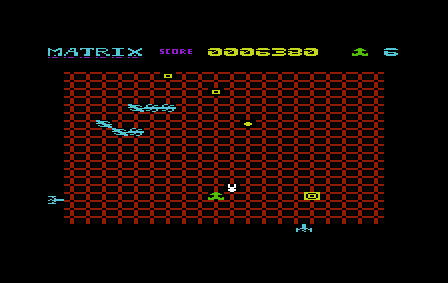 |
Level: | 2 | ||
| Droid Waves: | 2 | |||
| Droids per Wave: | 7 | |||
| Camels: | 0 | |||
| Camel Release Rate: | ||||
| Camel Speed: | ||||
| Zapper Period: | 15 | |||
| Snitch Speed: | ||||
| Deflexors: | 0 | |||
| Wave Patterns: | Boustrophedon | |||
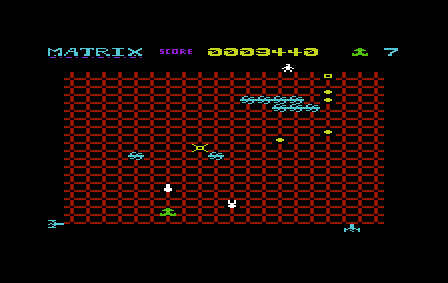 |
Level: | 3 | ||
| Droid Waves: | 3 | |||
| Droids per Wave: | 5 | |||
| Camels: | 0 | |||
| Camel Release Rate: | ||||
| Camel Speed: | ||||
| Zapper Period: | 14 | |||
| Snitch Speed: | ||||
| Deflexors: | 0 | |||
| Wave Patterns: | Boustrophedon | |||
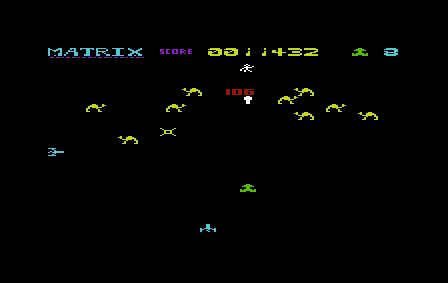 |
Level: | 4 | ||
| Droid Waves: | 0 | |||
| Droids per Wave: | - | |||
| Camels: | 20 | |||
| Camel Release Rate: | ||||
| Camel Speed: | ||||
| Zapper Period: | 13 | |||
| Snitch Speed: | ||||
| Deflexors: | 0 | |||
| Wave Patterns: | - | |||
 |
Level: | 5 | ||
| Droid Waves: | 2 | |||
| Droids per Wave: | 8 | |||
| Camels: | 0 | |||
| Camel Release Rate: | ||||
| Camel Speed: | ||||
| Zapper Period: | 13 | |||
| Snitch Speed: | ||||
| Deflexors: | 4 | |||
| Wave Patterns: | Boustrophedon | |||
 |
Level: | 6 | ||
| Droid Waves: | 2 | |||
| Droids per Wave: | 9 | |||
| Camels: | 8 | |||
| Camel Release Rate: | ||||
| Camel Speed: | ||||
| Zapper Period: | 13 | |||
| Snitch Speed: | ||||
| Deflexors: | 0 | |||
| Wave Patterns: | Boustrophedon | |||
 |
Level: | 7 | ||
| Droid Waves: | 2 | |||
| Droids per Wave: | 9 | |||
| Camels: | 9 | |||
| Camel Release Rate: | ||||
| Camel Speed: | ||||
| Zapper Period: | 12 | |||
| Snitch Speed: | ||||
| Deflexors: | 0 | |||
| Wave Patterns: | Boustrophedon, Diagonal | |||
 |
Level: | 8 | ||
| Droid Waves: | 2 | |||
| Droids per Wave: | 7 | |||
| Camels: | 0 | |||
| Camel Release Rate: | ||||
| Camel Speed: | ||||
| Zapper Period: | 12 | |||
| Snitch Speed: | ||||
| Deflexors: | 12 | |||
| Wave Patterns: | Boustrophedon | |||
 |
Level: | 9 | ||
| Droid Waves: | 0 | |||
| Droids per Wave: | - | |||
| Camels: | 25 | |||
| Camel Release Rate: | ||||
| Camel Speed: | ||||
| Zapper Period: | 11 | |||
| Snitch Speed: | ||||
| Deflexors: | 0 | |||
| Wave Patterns: | - | |||
 |
Level: | 10 | ||
| Droid Waves: | 3 | |||
| Droids per Wave: | 8 | |||
| Camels: | 10 | |||
| Camel Release Rate: | ||||
| Camel Speed: | ||||
| Zapper Period: | 11 | |||
| Snitch Speed: | ||||
| Deflexors: | 0 | |||
| Wave Patterns: | Boustrophedon | |||
 |
Level: | 11 | ||
| Droid Waves: | 3 | |||
| Droids per Wave: | 9 | |||
| Camels: | 0 | |||
| Camel Release Rate: | ||||
| Camel Speed: | ||||
| Zapper Period: | 10 | |||
| Snitch Speed: | ||||
| Deflexors: | 16 | |||
| Wave Patterns: | Boustrophedon | |||
 |
Level: | 12 | ||
| Droid Waves: | 3 | |||
| Droids per Wave: | 9 | |||
| Camels: | 11 | |||
| Camel Release Rate: | ||||
| Camel Speed: | ||||
| Zapper Period: | 9 | |||
| Snitch Speed: | ||||
| Deflexors: | 0 | |||
| Wave Patterns: | Diagonal, Boustrophedon | |||
 |
Level: | 13 | ||
| Droid Waves: | 2 | |||
| Droids per Wave: | 9 | |||
| Camels: | 12 | |||
| Camel Release Rate: | ||||
| Camel Speed: | ||||
| Zapper Period: | 9 | |||
| Snitch Speed: | ||||
| Deflexors: | 0 | |||
| Wave Patterns: | Boustrophedon | |||
 |
Level: | 14 | ||
| Droid Waves: | 3 | |||
| Droids per Wave: | 9 | |||
| Camels: | 0 | |||
| Camel Release Rate: | ||||
| Camel Speed: | ||||
| Zapper Period: | 8 | |||
| Snitch Speed: | ||||
| Deflexors: | 20 | |||
| Wave Patterns: | Boustrophedon | |||
 |
Level: | 15 | ||
| Droid Waves: | 3 | |||
| Droids per Wave: | 7 | |||
| Camels: | 15 | |||
| Camel Release Rate: | ||||
| Camel Speed: | ||||
| Zapper Period: | 9 | |||
| Snitch Speed: | ||||
| Deflexors: | 0 | |||
| Wave Patterns: | Diagonal, Boustrophedon | |||
 |
Level: | 16 | ||
| Droid Waves: | 0 | |||
| Droids per Wave: | - | |||
| Camels: | 30 | |||
| Camel Release Rate: | ||||
| Camel Speed: | ||||
| Zapper Period: | 8 | |||
| Snitch Speed: | ||||
| Deflexors: | 0 | |||
| Wave Patterns: | - | |||
 |
Level: | 17 | ||
| Droid Waves: | 3 | |||
| Droids per Wave: | 11 | |||
| Camels: | 0 | |||
| Camel Release Rate: | ||||
| Camel Speed: | ||||
| Zapper Period: | 7 | |||
| Snitch Speed: | ||||
| Deflexors: | 0 | |||
| Wave Patterns: | Boustrophedon | |||
 |
Level: | 18 | ||
| Droid Waves: | 3 | |||
| Droids per Wave: | 10 | |||
| Camels: | 20 | |||
| Camel Release Rate: | ||||
| Camel Speed: | ||||
| Zapper Period: | 7 | |||
| Snitch Speed: | ||||
| Deflexors: | 28 | |||
| Wave Patterns: | Boustrophedon | |||
 |
Level: | 19 | ||
| Droid Waves: | 3 | |||
| Droids per Wave: | 9 | |||
| Camels: | 20 | |||
| Camel Release Rate: | ||||
| Camel Speed: | ||||
| Zapper Period: | 6 | |||
| Snitch Speed: | ||||
| Deflexors: | 0 | |||
| Wave Patterns: | Diagonal, Boustrophedon | |||
 |
Level: | 20 | ||
| Droid Waves: | 3 | |||
| Droids per Wave: | 8 | |||
| Camels: | 20 | |||
| Camel Release Rate: | ||||
| Camel Speed: | ||||
| Zapper Period: | 6 | |||
| Snitch Speed: | ||||
| Deflexors: | 28 | |||
| Wave Patterns: | Diagonal, Boustrophedon | |||
|
The Mystery Bonuses are bonuses, the awarding of which appears (to the untrained eye) to be somewhat mysterious. However, they are awarded for very specific reasons. According to the manual, "There are seven bonuses from 2000 to 8000 points." The following is a list of the bonuses, their value, and the reason for their appearance. NB: If you lose a life, the status of all bonuses is reset, therefore you must perform the necessary action on the life that you complete a level in order to receive the bonus at the end of that level. If you are eligible for more than one bonus at the end of a level, you will receive only the highest valued bonus. Mystery Bonus 2 (2000 points) On a level with cameloids, if you allow any cameloid to exit the bottom of the grid without shooting it, you will be eligible for Mystery Bonus 2. Mystery Bonus 3 (3000 points) If your ship does not enter the 3 columns at the left or right sides of the grid (ie. columns 1, 2, 3, 18, 19 or 20), you will be eligible for Mystery Bonus 3. Mystery Bonus 4 (4000 points) The short explanation of Mystery Bonus 4 is that you will never receive it. The less short explanation is that every time a zapper fires, if there are no pods on-screen you will be (provisionally) awarded MB4, but if there are pods on-screen, MB4 will be cancelled. In other words, if you are clear of pods when the final zapper of the level goes off, you will be eligible for Mystery Bonus 4. Unfortunately, the zapper itself creates a new pod every time it fires, and eligibility for this bonus is assessed immediately after the zapper has done this, so it is actually impossible to score MB4, as you have no opportunity to remove the new pod from the screen before the game tests for pods :D Just for fun, I have created a version of VIC-20 Matrix where the zapper code is hacked around so that the MB4 test takes place immediately before the pod creation instead of after it (the code is the same as the original, just a handful of instructions are in a different order). You can download it here. To see the altered code in action, try starting a game on level 4, and destroy every pod as soon as it is created - you should be awarded Mystery Bonus 4 at the end of the level. Mystery Bonus 5 (5000 points) This is left as an exercise for the reader. Mystery Bonus 6 (6000 points) On a level with deflexors, there are always 4 centre deflexors which form an X shape at the beginning of the level. If you manipulate these 4 deflexors to form a diamond shape before completing the level, you will be eligible for Mystery Bonus 6. Mystery Bonus 7 (7000 points) The short explanation is that if you complete a level which has both droids and cameloids (eg. level 6), you will always be eligible for Mystery Bonus 7. Mystery Bonus 8 (8000 points) On a level with deflexors, if you shoot a droid with a 'deflected' bullet (ie. a bullet that has hit one or more deflexors and is travelling left-, right- or downwards when it hits the droid), then you will be eligible for Mystery Bonus 8. A bullet which has been deflected multiple times but which is ultimately travelling upwards when it hits a droid will not count, as the game has no memory of a bullet's path, only knowledge of its direction of motion at the point of collision. |
Well done, you found the really well-hidden cheats section! Cheat 1: to obtain infinite lives, perform a soft reset and then enter:
POKE 13707,173
SYS 15264
Cheat 2: to skip any level, hold down all the qualifier keys on the VIC-20 keyboard (Shift, Ctrl & Commodore) and press any other non-qualifier key. If you are playing via emulation, consult the emulator documentation to find out which keys the Shift, Ctrl & Commodore keys are mapped to.
That's it for now! If you have any comments or suggestions related to this page, why not post them somewhere on the YakYak forums?